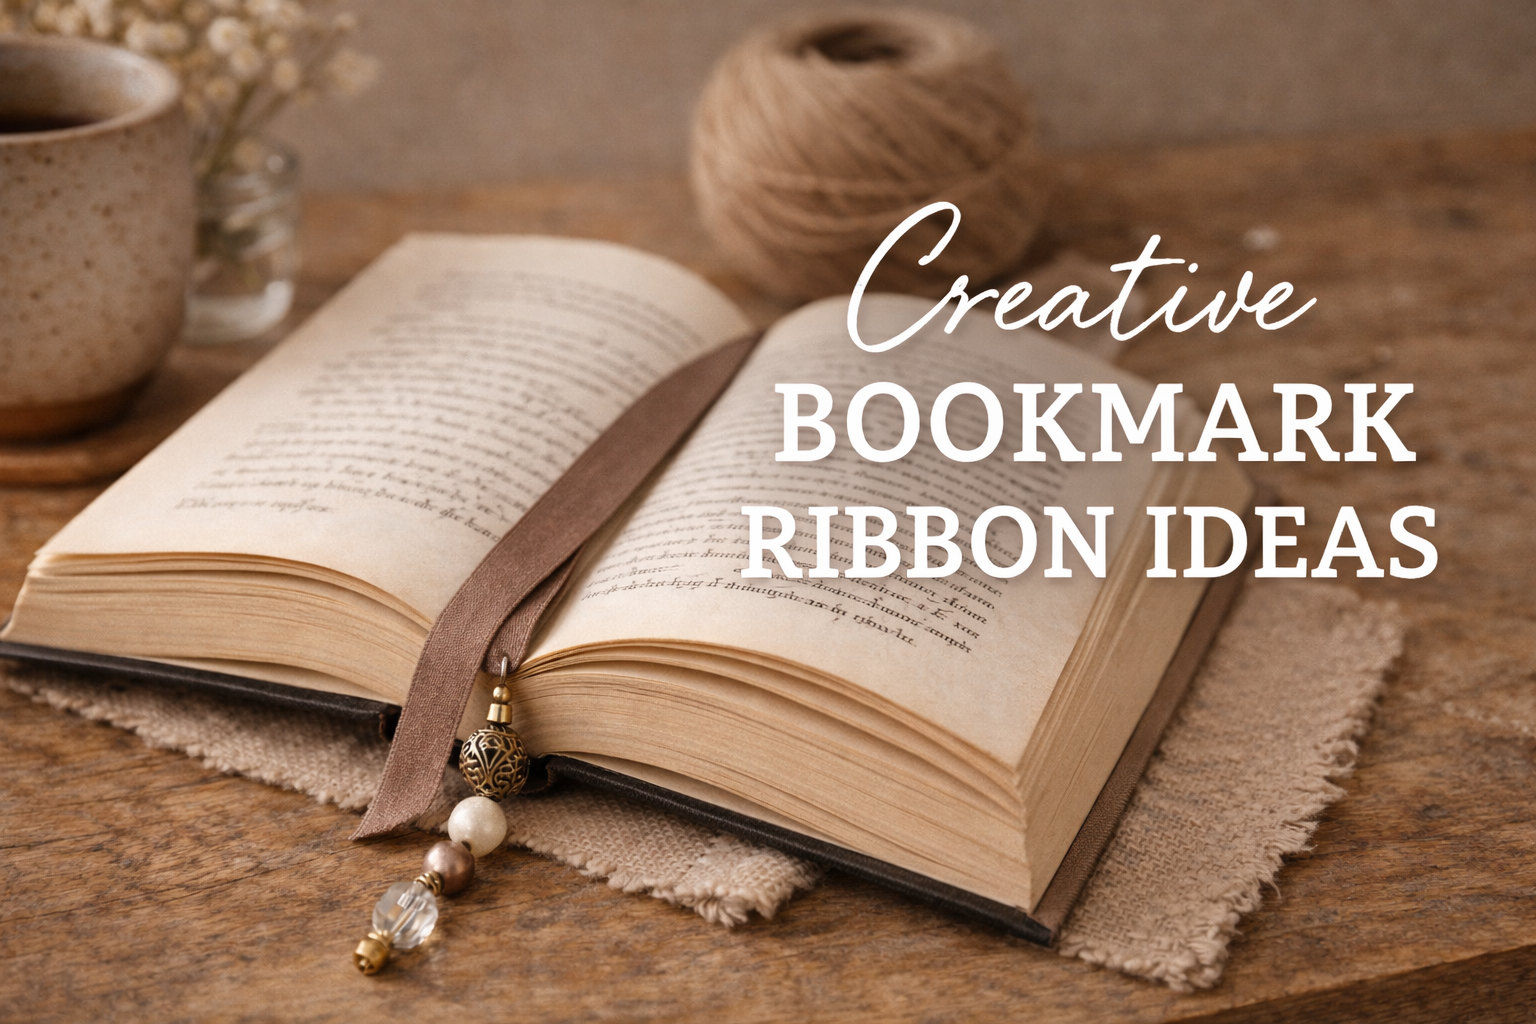
5 Creative Bookmark Ribbon Ideas to Add a Personal Touch to Your Books
This website contains affiliate links. As an Amazon Associate I earn from qualifying purchases. The content on this website was created with the help of AI.
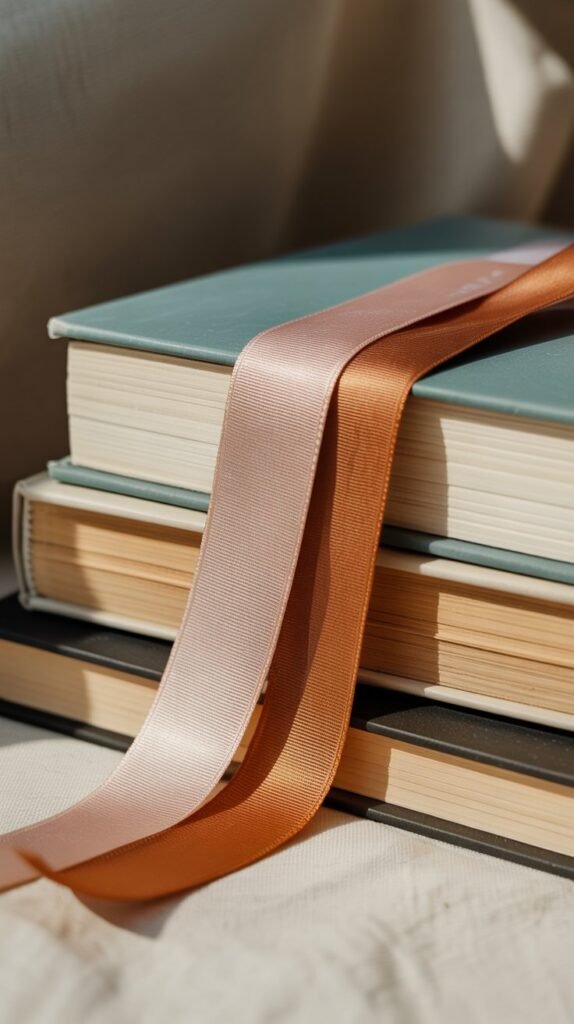
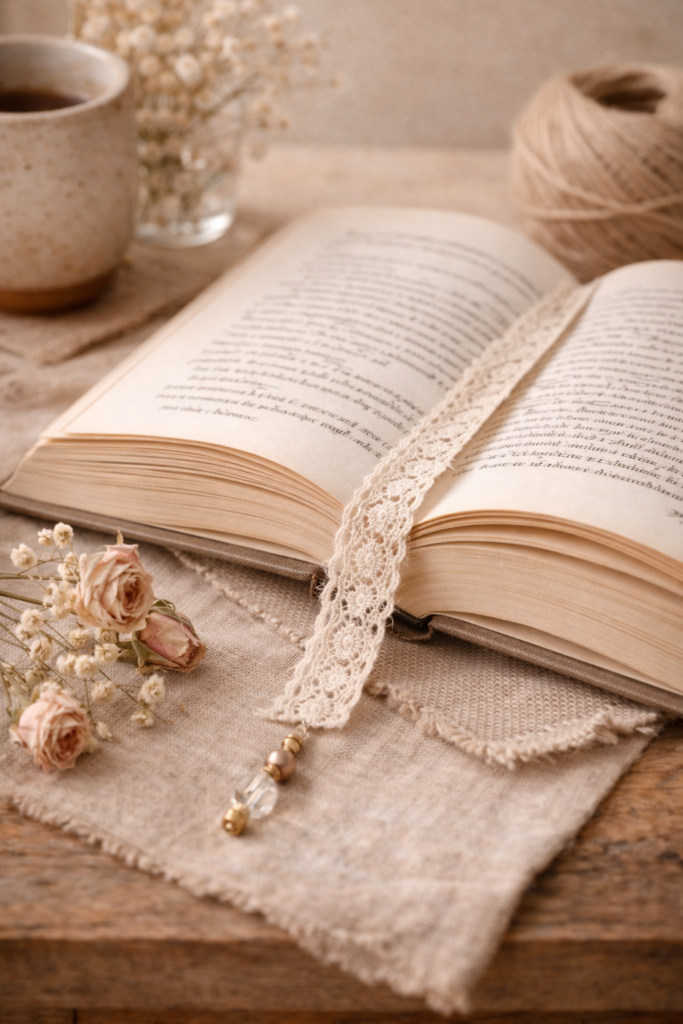
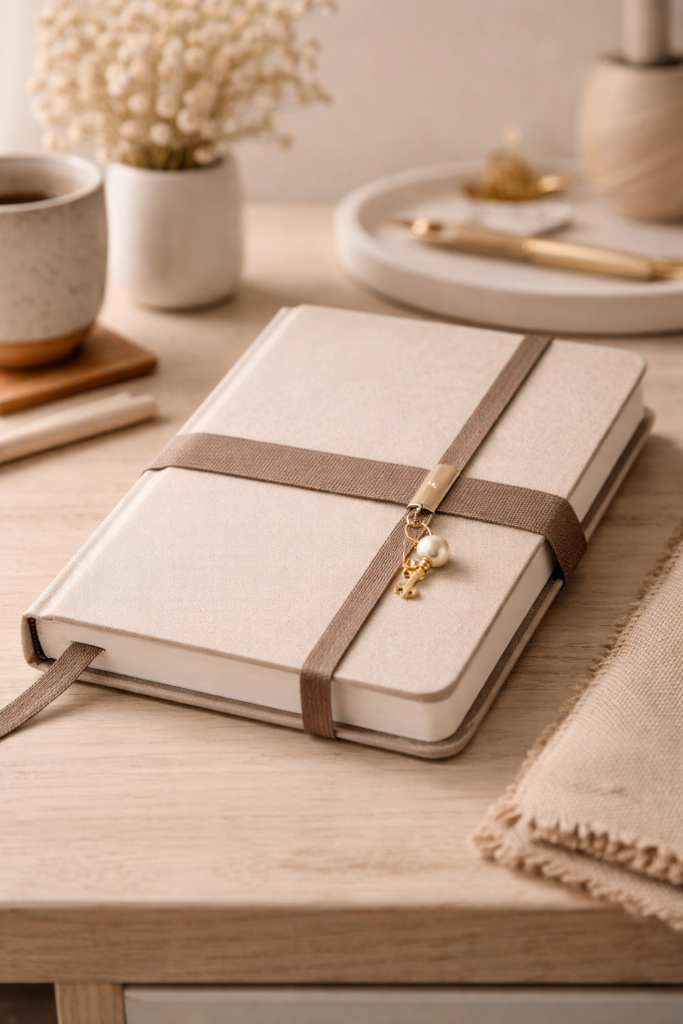
Adding a ribbon bookmark is one of the easiest and most beautiful ways to personalize your books, planners, or journals. Whether you love minimal styles, boho textures, or handmade details, ribbon bookmarks are a simple DIY that instantly elevates your reading experience — and they’re perfect for gifting too.
This guide is designed for Pinterest discovery, with scannable sections, visual inspiration, and easy steps anyone can follow.
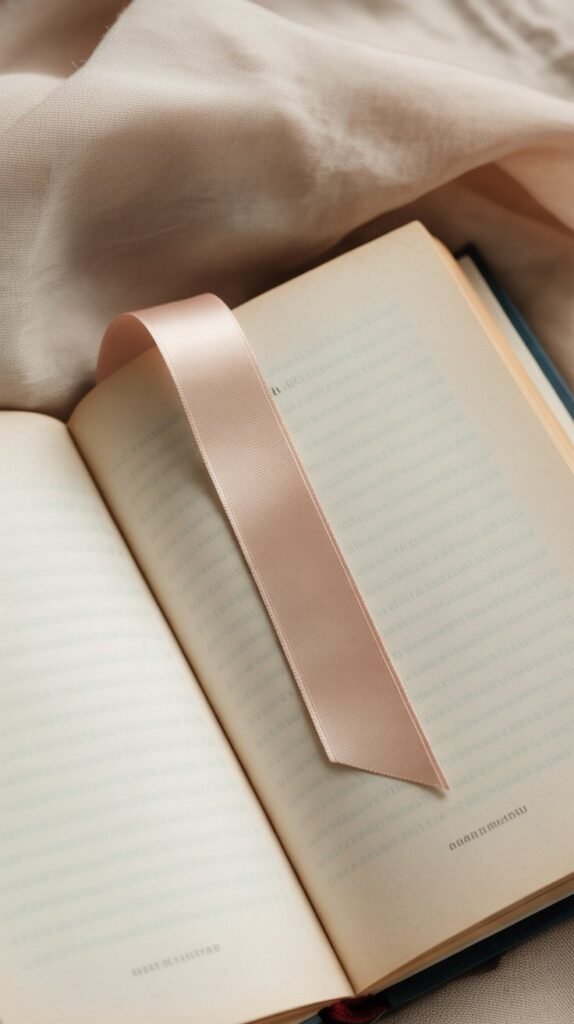
1. Classic Single Ribbon Bookmark
What You Might Need (Shopping List)
Steps
- Measure the height of your book and cut ribbon 2–3 inches longer.
- Seal both ends with a tiny drop of glue to prevent fraying.
- Let dry completely.
- Place inside your book and enjoy a clean, minimalist look.
2. Layered Ribbon Bookmark
What You Might Need (Shopping List)
Steps
- Cut 2–3 ribbons to the same length.
- Stack them evenly.
- Glue the top ends together and let dry.
- Optional: add a small stitch for extra durability.
- Insert into your book for a bold, decorative touch.
3. Beaded Ribbon Bookmark

What You Might Need (Shopping List)
Steps
- Cut ribbon slightly longer than book height.
- Thread beads onto one end.
- Secure beads with a knot or glue.
- Let dry completely before use.
- Perfect for gifting or aesthetic reading photos.
4. Lace or Fabric Ribbon Bookmark
What You Might Need (Shopping List)
Steps
- Cut fabric ribbon to desired length.
- Fold the top edge and glue or stitch for a clean finish.
- Let dry fully.
- Slide into journals, vintage books, or scrapbooks.
5. Elastic Ribbon Bookmark (Planner Style)
What You Might Need (Shopping List)
Steps
- Wrap elastic around the book cover to measure.
- Cut slightly shorter for a snug fit.
- Stitch or glue ends together.
- Slip onto your planner — stays secure and practical.
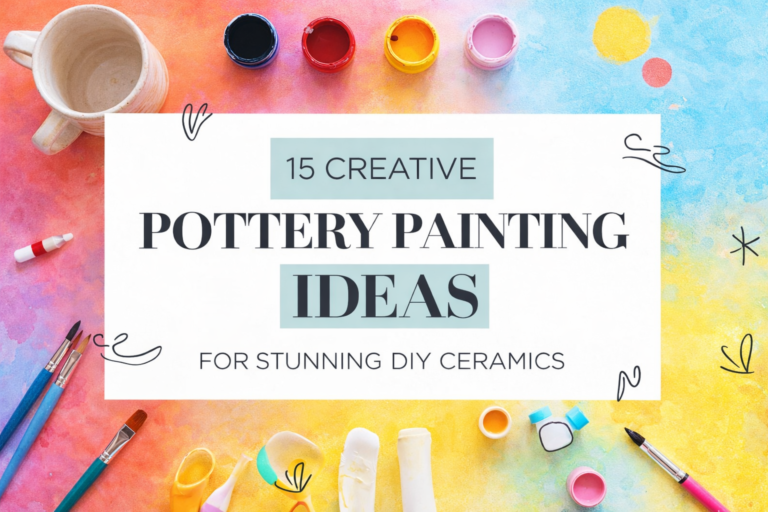
6. Minimalist Neutral Designs for Timeless Ceramics
Minimalist pottery painting focuses on soft neutral tones that create a calm and modern look. Colors like beige, white, taupe, and soft gray help highlight the natural beauty of the ceramic. This style works well for everyday pieces like mugs, vases, and planters. It blends easily with any home decor and feels clean and intentional. Simple lines or small shapes can add just enough detail without overwhelming the design. Minimalist ceramics are perfect for gifting because they are versatile and timeless. This approach proves that less detail can still create a strong visual impact.
What You Might Need
Neutral ceramic paint
Fine detail brushes
Matte sealant spray
Steps
- Clean and dry the ceramic surface before painting.
- Apply a neutral base coat and let it fully dry.
- Add simple lines or shapes using a fine brush.
- Keep spacing consistent for a clean look.
- Let the design dry completely.
- Seal with a matte finish for a modern effect.
7. Geometric Patterns for a Modern Edge
Geometric pottery designs bring structure and a bold modern feel to your ceramics. Shapes like triangles, arches, and lines create a clean and organized aesthetic. This style works especially well on planters and mugs where symmetry stands out. You can use high contrast colors or soft tones depending on your preference. Painter’s tape helps achieve sharp and professional-looking lines. Geometric patterns instantly make your pottery look designer-inspired. It’s a great way to experiment with shapes while keeping everything balanced.
What You Might Need
Painter’s tape
Geometric stencils
Ceramic paint kit
Steps
- Clean the ceramic surface.
- Apply painter’s tape to outline your shapes.
- Paint inside the taped areas.
- Let the paint partially dry.
- Carefully remove the tape for sharp edges.
- Seal the design once fully dry.
8. Ombre Color Blends for a Soft Gradient Effect
Ombre painting creates a smooth color transition that looks soft and elegant. Blending colors like pink to white or blue to green adds depth to your design. This technique works beautifully on vases and mugs. It gives your pottery a modern yet artistic feel. Using a sponge helps blend colors seamlessly. Ombre designs feel calming and visually appealing. They are perfect for creating a subtle but eye-catching finish.
What You Might Need
Sponge brushes
Ceramic paint set
Blending brushes
Steps
- Apply a base color to the ceramic.
- Add a second color near the edge or top.
- Use a sponge or brush to blend the colors together.
- Work quickly while the paint is still wet.
- Repeat blending until smooth.
- Let dry and seal the surface.
9. Textured Effects with Layered Paint
Adding texture gives your pottery a more artistic and unique appearance. Layering paint creates depth and dimension that stands out. This technique is ideal for decorative pieces rather than everyday use. You can use tools like palette knives or brushes to build texture. It allows you to experiment with different finishes and effects. Textured ceramics often look more handmade and creative. This approach is perfect for statement pieces.
What You Might Need
Texture tools
Heavy body acrylic paint
Palette knives
Steps
- Start with a clean ceramic surface.
- Apply a base coat and let it dry.
- Add thicker layers of paint using tools.
- Build texture gradually.
- Let each layer dry before adding more.
- Seal carefully to protect the texture.
10. Metallic Accents for a Luxe Finish
Metallic details can instantly elevate any pottery piece. Gold, silver, or bronze accents add a touch of luxury and shine. This style works best when paired with neutral or dark backgrounds. A little metallic paint goes a long way in enhancing the design. It’s perfect for highlighting edges or small details. Combining matte and metallic finishes creates a beautiful contrast. This technique makes your ceramics look polished and high-end.
What You Might Need
Metallic paint
Gold paint marker
Gloss sealant
Steps
- Paint your base design first.
- Let it dry completely.
- Add metallic accents to edges or patterns.
- Keep details minimal for balance.
- Allow metallic paint to dry fully.
- Seal with gloss for a polished finish.
If you enjoyed these creative bookmark ideas, be sure to explore more DIY projects, home inspiration, and curated shopping guides on the blog. You’ll find simple ideas designed to add beauty and function to everyday life, along with helpful product recommendations and seasonal inspiration. Don’t forget to check out our latest posts and save your favorites for later!
This website contains affiliate links. As an Amazon Associate I earn from qualifying purchases. The content on this website was created with the help of AI.